Adding a Class to Facilitated Sessions

  1. From the Navigation Bar of the Administrator's Console, expand the Resources drop-down menu and select Maintain Facilitated Sessions.


  2. Click the Add button in the Tool Bar.


  3. The Add a New Class pop-out box will appear.  Begin typing the name of the course and click to select it when the name appears. Click Add
     
     
    Note

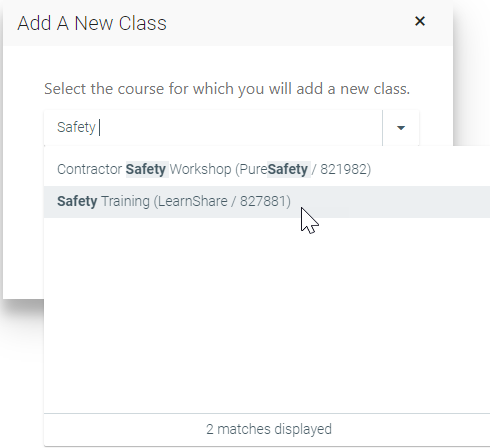
    If you are searching for an inactive course, be sure to check the Show Inactive Courses box.


  4. Click the pencil icon in the left column to edit the defaults for the Date, Start Time, End Time, etc.
     
    Note

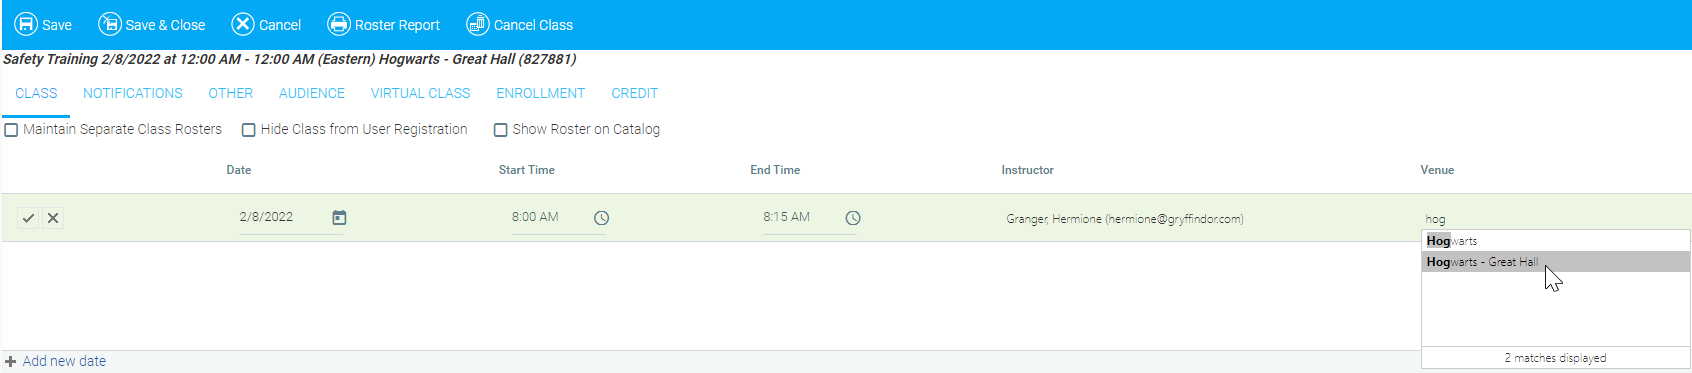
    When you have entered Edit mode, the pencil icon will change to a check mark.


  5. To select an instructor, begin typing the name of the instructor into the Instructor field.  Click the instructor's name to select it when it appears.


  6. To select a venue, begin typing the name of the venue into the Venue field.  Click to select the name of the venue when it appears.
     
    Note

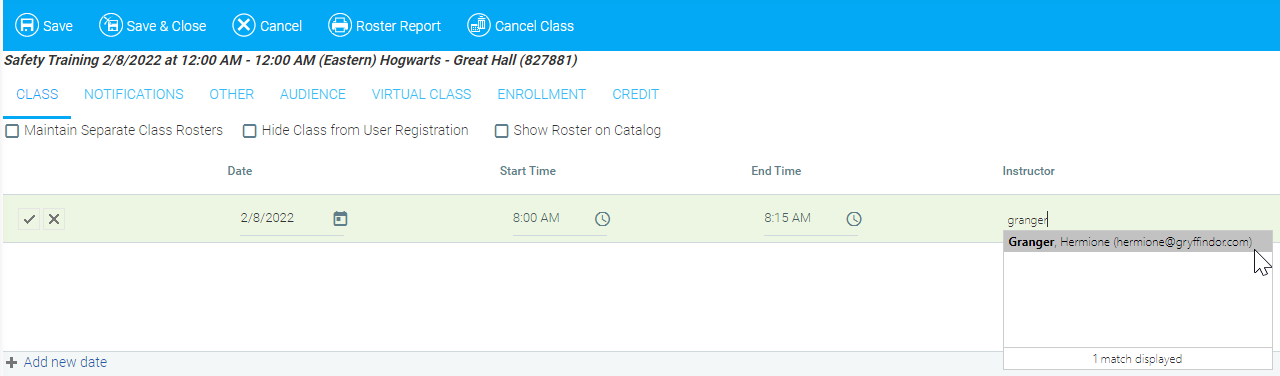
    This field is optional for a virtual (VILC) session.


  7. Once you have finished editing the default values, click the check mark to save your changes.  To cancel the changes, click the X button beside the check mark.


  8. Click the Enrollment tab.  This will automatically display the current enrollment in a class.  To enroll other users in the class, click Enroll Others.


  9. The Enrollment pop-out box will appear.  Begin typing the name of a user in the Select a Person field.  When the user's name appears, click on it to select it.  Once selected, click Add.  Repeat this process for all users who need to be enrolled in the class.


  10. Once all users have been added, click Enroll.


  11. The enrolled users will be added to the class roster.  To remove a user from the roster, check the box to the left of their name, then click the Remove button.  To move a user to a different class time, if available, check the box to the left of their name, then click the Reschedule button.


  12. Once all information has been entered, click Save and Close.
     
  13. Repeat these steps until all classes have been added to the facilitated session.

For a brief video on this topic, please see Adding a Class to Facilitated Sessions.

Related Links

Setting Up a Facilitated Course